Back in December 2020, We got a a Particle.io Argon Starter kit found here and the Argon IoT Starter Kit found here. I just got around to making our first project! I wanted to make something that people, like you reading this, can see in real time.

I decided to make a humidity, temperature and light data logger that logs to a database. Since we have an on-site SQL server already, I created a new database and table where the data will be logged. I’m not going to go into detail about how I did that, but I may make another post in the future about it.
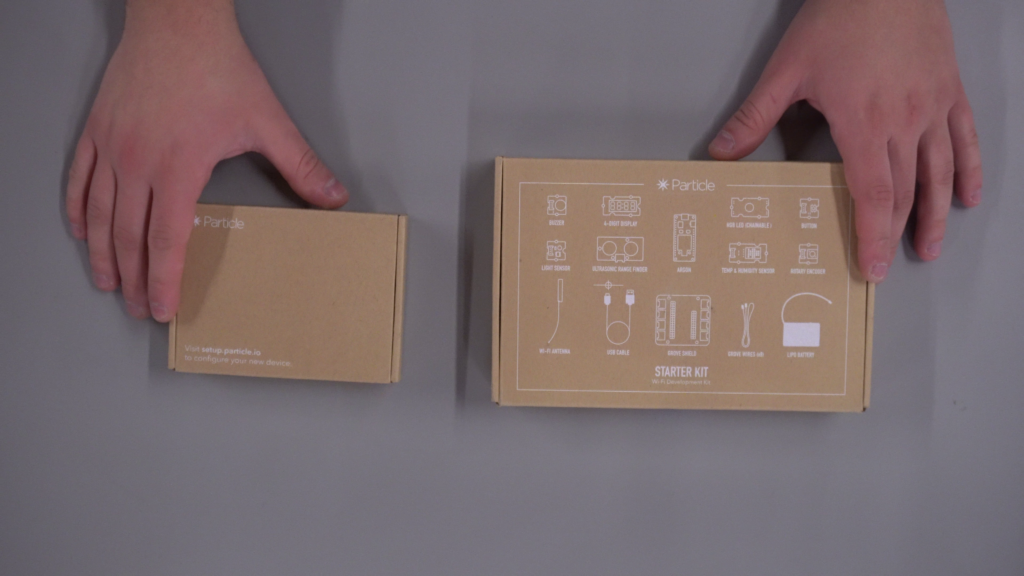
Starting off, I did sort of an unboxing! Above, you can see the two boxes. The smaller one consisted of the bare minimum to do some very basic, beginner type, of projects. The larger box is where all the fun sensors are like the ones shown below!
From these boxes I grabbed the Grove Temperature and Humidity Sensor, the Light Sensor, the breakout board and the Argon!
This kit allows for easy connection of the sensors by using the 8 port breakout board and the jumper wires that came with each sensor.
I connected the Temperature and Humidity sensor to pin A0 and the light sensor to pin A3. You’ll see this reflected in the code I provided later in this post.
Now I do some experience with Arduino and ESP32 programming, so I was familiar with the language. Although this being a more beginner type of kit, Particle.io has created an app for easy configuration, basic control and easy upload of the Argon board. They also have their own Web IDE where you can program the Argon at.
After searching around for code on how to write to an SQL database from an Argon, I came to the conclusion that I needed to create a php script on our local web server that the Argon can hand off information to then which the php script can send to the SQL database. Below is the code for the php script I created:
<?php
$Temp = substr($_POST["temp"], 0, 5);
$Light = substr($_POST["lt"], 0, 2);
$Hum = substr($_POST["hum"], 0, 2);
$servername = "localhost";
$username = "*********";
$password = "*********";
$dbname = "CurrentWeather";
$conn = new mysqli($servername, $username, $password, "CurrentWeather");

//print_r($_POST);
$sqlcreate = "INSERT INTO THLOutdoor (Temperature, Humidity, Light) VALUES (\"".$Temp."\", \"".$Hum."\", \"".$Light."\")";
echo $sqlcreate;
if ($conn->query($sqlcreate) === TRUE) {
//      echo "Complete";
        $conn->close();
}else{
        echo "INSERT Error: " . $sqlcreate . "<br>" . $conn->error;
}

?>
Then, I needed a way for the outside to be able to view the information, so I created a php script below:
<?php

$servername = "localhost";
$username = "*********";
$password = "*********";
$dbname = "CurrentWeather";
$conn = new mysqli($servername, $username, $password, "CurrentWeather");

$sql = "SELECT * FROM THLOutdoor ORDER BY id DESC LIMIT 1";
$result = $conn->query($sql);

if ($result->num_rows > 0) {
        while($row = $result->fetch_assoc()) {
                echo "Temp: " . $row["Temperature"] . "F, Humidity: ". $row["Humidity"] . "%, Outside Light: " . $row["Light"] . "%";
        }
}

$conn -> close();

?>
And here is the program for the Argon:
// This #include statement was automatically added by the Particle IDE.
#include <Grove_Temperature_And_Humidity_Sensor.h>
#define DHTPIN A0 // set pin for Temp/humidity sensors
#define lightPin A2 // set pin for light sensor
TCPClient client;
DHT dht(DHTPIN);
byte server[] = { 192, 168, 1, 117 };
byte dataBuffer[4024];
String receivedData;
void setup()
{
Serial.begin(9600);
dht.begin();
}
void loop()
{
//Read Humidity Dataa
float h = dht.getHumidity();
// Read temperature as Celsius
float t = dht.getTempFarenheit();
//Read Light Data
double L = analogRead(lightPin);
double Light = map(L, 0.0, 4095.0, 0.0, 100.0);
Serial.println(Light);
if (isnan(h) || isnan(t))
{
Serial.println("Failed to read from DHT11 sensor!");
return;
}
// POST Message
if(client.connect(server, 80))
{
// Print some information that we have connected to the server
Serial.println("**********************************!");
Serial.println("New POST Connection!");
Serial.println("Connection OK!");
// Send our HTTP data!
client.println("POST /postTemp.php HTTP/1.0");
client.println("Host: 192.168.1.117");
client.println("Content-Type: application/x-www-form-urlencoded");
client.println("Content-Length: 35");
client.println();
client.print("temp=" + String(t) + "&");
client.print("hum=" + String(h) + "<=" + String(Light));
receivedData = "";
// Read data from the buffer
while(receivedData.indexOf("\r\n\r\n") == -1)
{
memset(dataBuffer, 0x00, sizeof(dataBuffer));
client.read(dataBuffer, sizeof(dataBuffer));
receivedData += (const char*)dataBuffer;
}
// Print the string
Serial.println(receivedData);
// Stop the current connection
client.stop();
}
else
{
Serial.println("Server connection failed. Trying again...");
}
delay(60000);
}
Once you have your database, table, php script and the Argon code uploaded, you should be able to start logging the data! I have it logging every minute in this example, but that can easily be changed at the line near the bottom of the code:
delay(60000);to something more reasonable like “delay(3600000);” for hourly updates. That is up to you!
Once it was all programmed and confirmed to work, I had some small boxes from an install we did at BRITE a little bit go. I gutted the small box and proceeded to fit the controller and sensors in the box.
After I put it all together, I put the battery pack in and it started logging! Now since I haven’t placed it outside yet, it is currently reporting inside stats. The stats are reported live right here:
[xyz-ips snippet=”getstats”]
Part 2 will be testing this device to see how it is behaving with RF events and current pull and we will also throw the battery on a battery tester to see what we are truly getting from this battery!